项目源码分析 react.dev(一):目录结构及本地运行
React 团队发布了新的文档站点 react.dev (opens in a new tab), 除了大量重新编写的文档教程以外,项目也用 Next.js (opens in a new tab) 框架重新搭建。
借此机会,除了重新阅读一遍新的文档外,也可以通过分析 react.dev 的项目源码来学习使用 Next.js 搭建网站的方案。
目录结构
├── next-env.d.ts
├── next.config.js
├── package.json
├── patches
├── plugins
├── postcss.config.js
├── public
├── scripts
├── src
│   ├── components # 公共组件
│   ├── content # 文档内容
│   ├── hooks
│   ├── pages # 页面
│   ├── styles # 样式
│   └── utils
├── tailwind.config.js
├── tsconfig.json
├── vercel.json
└── yarn.lock
项目的目录结构清晰易懂,核心代码都在 src 目录内,其余是项目配置文件以及一些辅助脚本。
其中 src/components 包括了公共的组件和 MDX 组件,src/content 是使用 Markdown 编写的文档内容,src/pages 的页面 Next.js 会生成对应的路由。
pages 目录
├── 404.js
├── 500.js
├── [[...markdownPath]].js
├── _app.tsx
└── _document.tsx
通过 pages 目录下的文件结构可以看到,页面文件并不多,404.js, 500.js 是错误处理的页面,_app.tsx, _document.tsx 用来自定义文档结构和初始化 App,只定义了一个动态路由 [[...markdownPath]].js。所有页面路径都会通过该页面匹配 content 中对应的内容渲染成页面。
[[...markdownPath]].js 源码(只保留核心部分)
export default function Layout({content, toc, meta}) {
  const parsedContent = useMemo(
    () => JSON.parse(content, reviveNodeOnClient),
    [content]
  );
  const parsedToc = useMemo(() => JSON.parse(toc, reviveNodeOnClient), [toc]);
  const section = useActiveSection();

  return (
    <Page toc={parsedToc} routeTree={routeTree} meta={meta} section={section}>
      {parsedContent}
    </Page>
  );
}


// Put MDX output into JSON for client.
export async function getStaticProps(context) {
  // Read MDX from the file.
  let path = (context.params.markdownPath || []).join('/') || 'index';

  // See if we have a cached output first.
  const {FileStore, stableHash} = require('metro-cache');
  const store = new FileStore({
    root: process.cwd() + '/node_modules/.cache/react-docs-mdx/',
  });
  const cached = await store.get(hash);
  if (cached) {
    console.log(
      'Reading compiled MDX for /' + path + ' from ./node_modules/.cache/'
    );
    return cached;
  }
  if (process.env.NODE_ENV === 'production') {
    console.log(
      'Cache miss for MDX for /' + path + ' from ./node_modules/.cache/'
    );
  }

  const output = {
    props: {
      content: JSON.stringify(children, stringifyNodeOnServer),
      toc: JSON.stringify(toc, stringifyNodeOnServer),
      meta,
    },
  };

  // Cache it on the disk.
  await store.set(hash, output);
  return output;
}

// Collect all MDX files for static generation.
export async function getStaticPaths() {
  const files = await getFiles(rootDir);
  const paths = files.map((file) => ({
    params: {
      markdownPath: getSegments(file),
    },
  }));

  return {
    paths: paths,
    fallback: false,
  };
}
看一下 [[...markdownPath]].js 中的代码是如何将 Markdown 内容渲染到页面上及匹配动态路由。
其中核心方法也不多,主要是 Layout, getStaticProps, getStaticPaths。
Layout是导出的页面组件,将转换后的Markdown内容渲染到页面上getStaticProps是Next.js提供的SSG方法,会在编译时把Props传递给页面组件然后将页面提前生成HTML。并且在该方法中,这个项目还缓存了转换后的数据,加快编译速度getStaticPaths是动态路由的匹配方法,将content中的文档匹配为对应的路由
本地运行
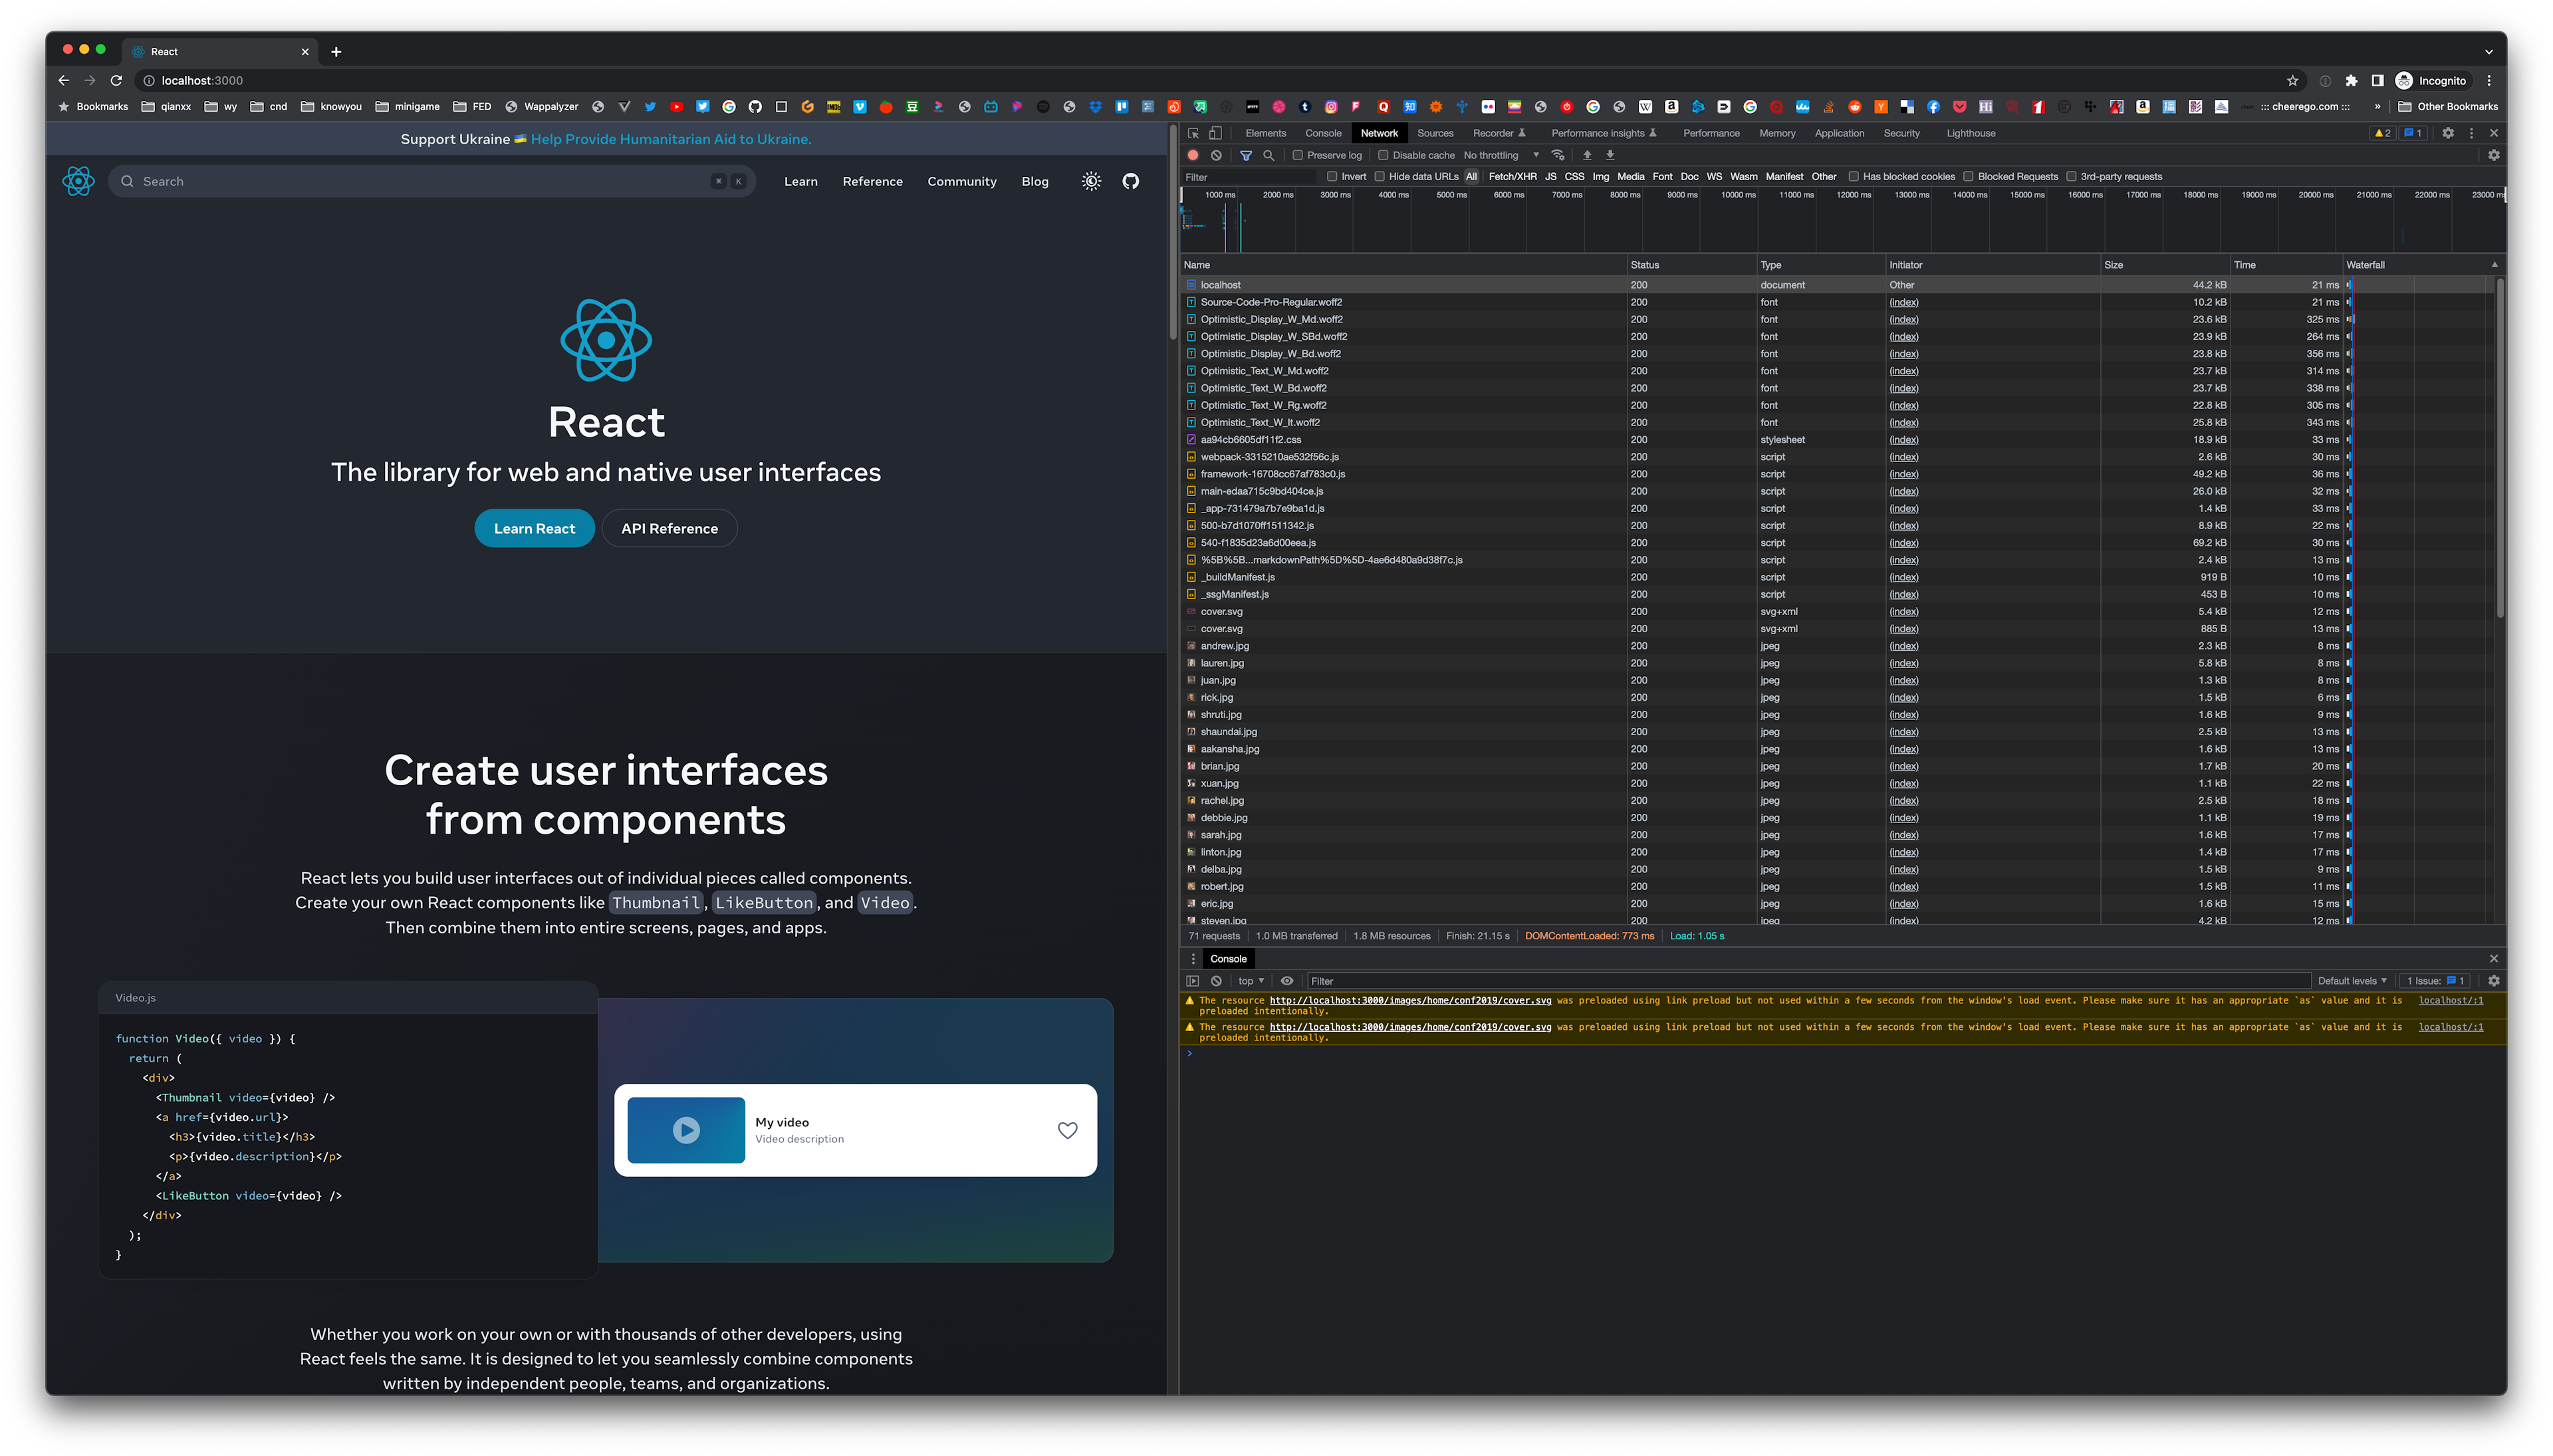
该项目推荐使用 yarn 作为包管理器,并且非常容易进行本地开发。只需要安装依赖后启动开发服务器即可。
1. 安装依赖
yarn2. 本地启动
yarn dev3. 打开 http://localhost:3000

打包部署
1. 打包
yarn build
# 如果需要分析依赖大小
yarn analyze
打包后的文件会生成在 .next 文件夹下,其中 SSG 生成的 HTML 页面会在 server/pages 文件夹下,并且每个页面会有对应的一个 json 文件保存了数据。
├── cache
├── server
│   ├── chunks
│   ├── pages
│   │   ├── 404.html
│   │   ├── 404.js.nft.json
│   │   ├── 500.html
│   │   ├── 500.js.nft.json
│   │   ├── [[...markdownPath]].js
│   │   ├── [[...markdownPath]].js.nft.json
│   │   ├── _app.js
│   │   ├── _app.js.nft.json
│   │   ├── _document.js
│   │   ├── _document.js.nft.json
│   │   ├── _error.js
│   │   ├── _error.js.nft.json
│   │   ├── blog
│   │   ├── blog.html
│   │   ├── blog.json
│   │   ├── community
│   │   ├── community.html
│   │   ├── community.json
│   │   ├── index.html
│   │   ├── index.json
│   │   ├── learn
│   │   ├── learn.html
│   │   ├── learn.json
│   │   ├── reference
│   │   └── warnings
├── static
│   ├── chunks
│   ├── css
│   └── qUfZMKLlo_qnHNiwUjcI4
└── trace
2. 启动
yarn startNext.js 项目打包后,虽然是 SSG 提前生成的静态页面,但还是需要 next 服务器和通过 next start 来启动项目。如果不希望通过 next 服务器,需要生成完全静态的 HTML,可以通过配置中的 output: 'export' 或者 next build && next export(Next.js 13.3 之前的方式),参考 Static HTML Export (opens in a new tab)
参考链接
- react.dev (opens in a new tab)
- Github 源码 (opens in a new tab)
- legacy.reactjs.org (opens in a new tab)
- legacy.reactjs.org Github 源码 (opens in a new tab)
- Next.js (opens in a new tab)